The reason for this post is just to remind me of a few little things you need to do if you want to create a Generation 2 Ubuntu Virtual Machine on Hyper-V. When setting up the virtual machine in Hyper-V and you select Generation 2.
Create a Virtual Switch 1st
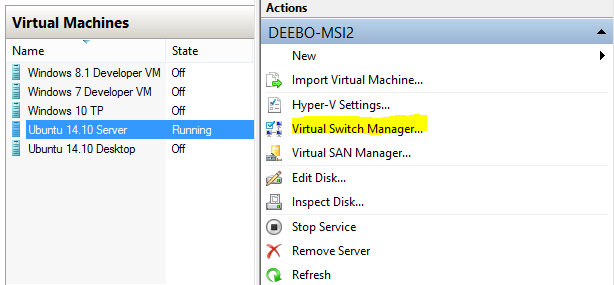
I have had good mileage with creating an “External Network” and settiong it to use my Wireless adapter.

For one wireless network at a coffee shop it didn't work and I had to switch to a private one which is a bit more work to create. This blog post describes that setup. One caveat was I had to disable my LAN adapter to get the private setup described to work but your mileage might vary.
See: http://www.hurryupandwait.io/blog/running-an-ubuntu-guest-on-hyper-v-assigned-an-ip-via-dhcp-over-a-wifi-connection
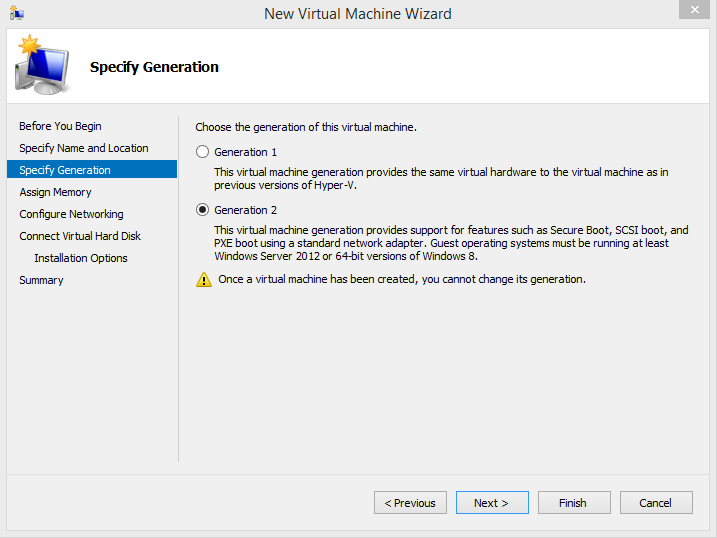
Create the Virtual Machine
Go ahead now and click New > Virtual Machine and follow the wizard. Remeber to pick Generation 2. Choose the virtual switch you setup previously. In Installation Options choose the Ubuntu image you downloaded from their website. Remember that for a generation 2 it must be the 64-bit version.
Here is a full walkthrough of the process if you need it: Step by step install of Ubuntu on Hyper-V
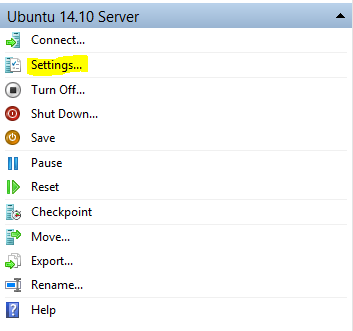
##Before starting it up
The final thing to remember to do before starting up the newly created virtual machine is go into its settings.
Make sure you uncheck Safe Boot
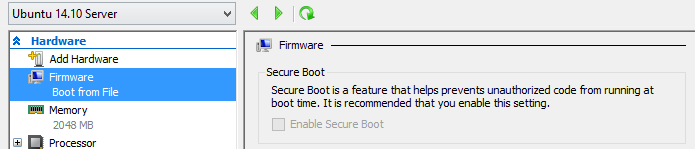
Thats it
You can now bootup you new virtual machine and Ubuntu will take you through the setup process. Hope this helped you and I am sure it will help future me when I bump up against some of these issues next time I create a new Linux Hyper-V.
Setting the resolution
One thing you may want to do is change the resolution that Ubuntu runs at. If you go into display settings you will find that you cannot change the resolution there.
It is fairly straight forward but does require some editing of config files.
- Open up Terminal
- Type
sudo nano /etc/default/gruband enter (or you can use vi if you prefer) - Find the setting GRUB_CMDLINE_LINUX_DEFAULT and add to it so it includes the resolution you want.
GRUB_CMDLINE_LINUX_DEFAULT="quiet splash video=hyperv_fb:1280x720" - Save and exit nano
- Type
sudo update-gruband enter (I ran into a problem here) - Restart the VM
I believe that 1920 x 1080 is the max that Hyper-V supports.
sudo update-grub was frezzing/hanging whenever I tried to run it. I suspect that this was because I had an external drive in when I created the VM and grub was searching for it.
I managed to get past this by adding the following line at the bottom of /etc/default/grub
GRUB_DISABLE_OS_PROBER=true
Setup:
This setup is valid as of Windows 8.1 running Hyper-V and installing Ubuntu 14.10 as the guest OS.